A Sharpening Workflow You Can Repeat
The best sharpening system is the one that produces a known edge without turning every session into a setup project.
Make the setup repeatable
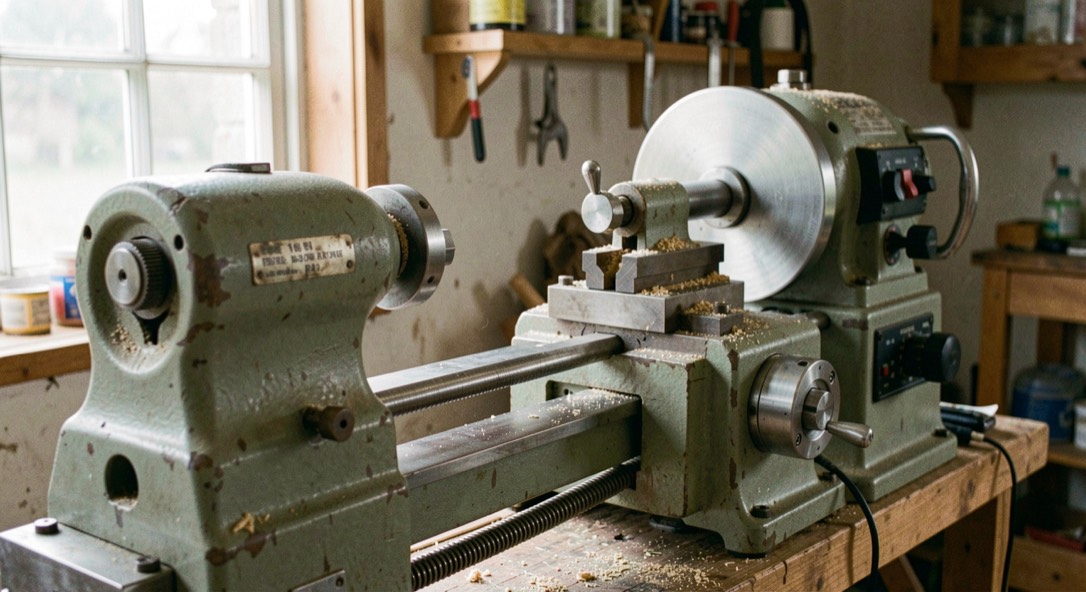
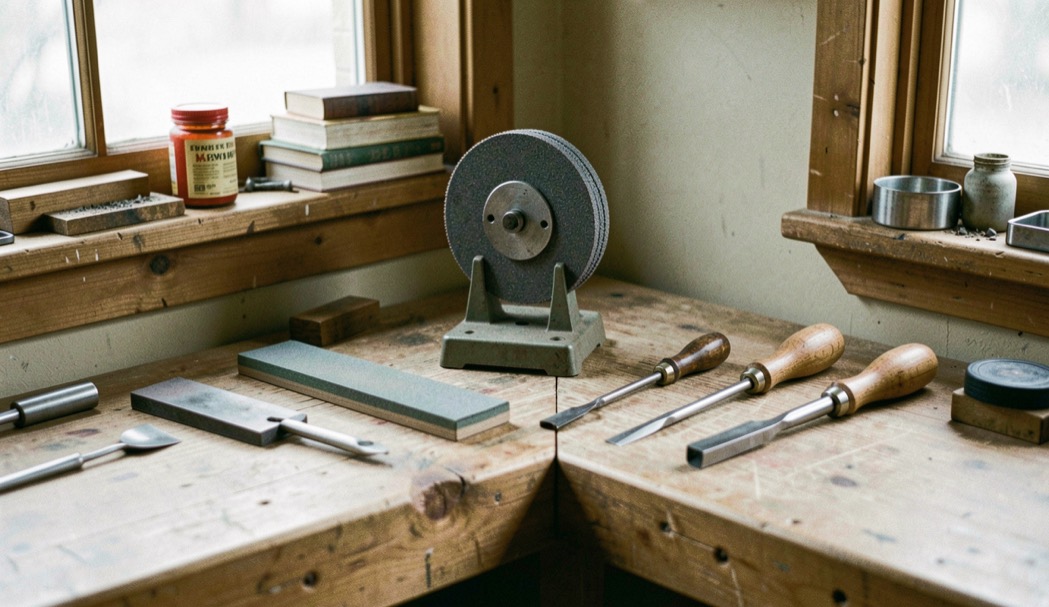
A fixed platform, a clear wheel and a marked reference point remove guesswork. Before grinding, check the tool, the wheel and the surrounding space. Small consistency beats heroic correction.
Use the light touch
Let the abrasive work without pressing the edge into the wheel. Move evenly, cool the steel when needed, and inspect the profile in the same light each time. A short honing step can refine a cutting edge, but it cannot replace an unstable grind.
Put it back into wood
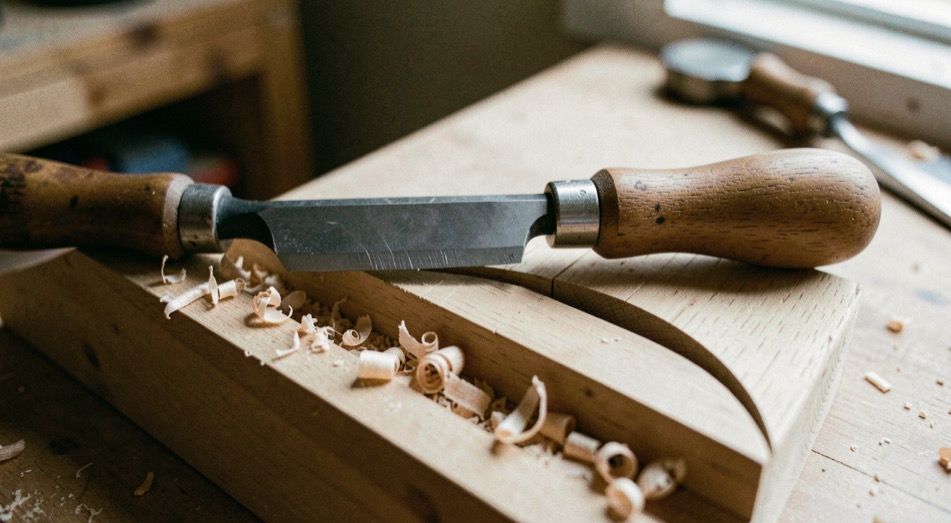
The proof is not a polished tool. It is a controlled cut that leaves a surface you can read. Pair this workflow with gouge geometry and a species that is forgiving while you learn.
Make the edge predictable
A repeatable sharpening workflow begins with a clean wheel, a stable platform and enough light to see the profile. Inspect the tool for damage, verify that the wheel runs true, and keep water or another cooling method available when the steel heats quickly. The goal is not a mirror finish. It is a known edge that can be returned to the cut without changing several variables at once. Marking the bevel before grinding helps reveal whether the platform is supporting the intended area or silently lengthening the bevel.
Grind with a light touch
Present the steel to the abrasive gently and keep it moving across the wheel. Pressure creates heat and can hollow or burn the edge; lingering in one place changes the geometry faster than a beginner expects. Stop, cool and inspect rather than grinding until the tool feels familiar. A burr is evidence of contact, not proof of a good profile. Use a slip stone only when it fits the tool and purpose, and never let honing hide a platform that is drifting out of position.
Verify the result in wood
Test the edge on a simple cylinder in beech or maple, using the same rest height and presentation as the previous test. Listen for a clean cut, look for a continuous ribbon and compare the surface under raking light. If the result deteriorates after only a few passes, investigate wood hardness, interrupted grain, edge damage and tool pressure. A practical example is to keep one reference spindle beside the grinder and make a short test cut after each setup change. Safety glasses, face protection and a guarded wheel remain part of the workflow.
Keep a reference edge
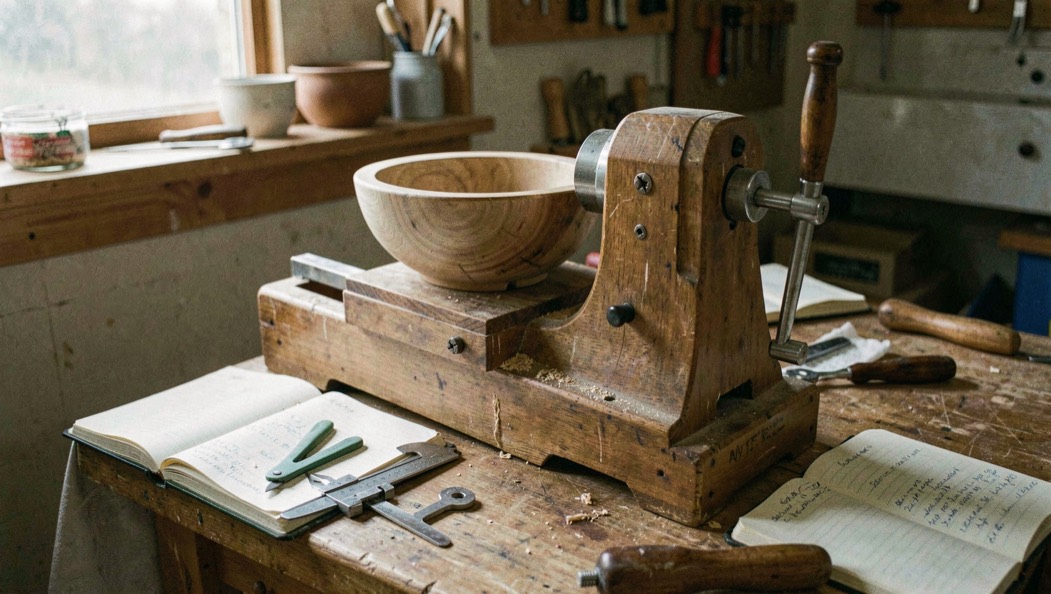
Choose one tool profile for a week and photograph its edge after sharpening. Note the wheel, platform position, number of light passes and the first surface made in wood. This prevents a common error: changing grind, wood and technique together, then blaming the last variable touched. A reference tool can reveal drift before it becomes a catch or a rough bowl. Replace a damaged wheel, maintain guards and isolate power for adjustment. Sharpening is maintenance with a cutting hazard, so the routine should make safe inspection easier, not make the grinder feel like an ornament.
Precise safety and material claims are grounded in the editorial methodology; workshop guidance is identified as practical synthesis.