A Small Bowl Workflow from Blank to Finish
A sequence for a modest bowl that keeps the material, tool and final use in view.
Prepare the blank
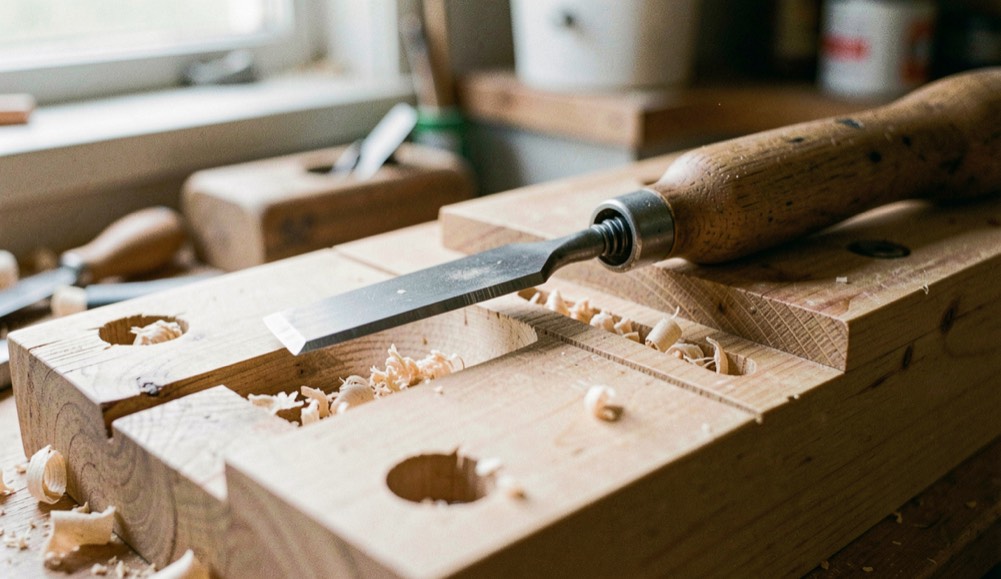
Inspect the grain, mark the center and remove corners safely before the piece spins. Choose a blank whose size matches the capacity and the intended use. The drying guide matters if the wood is green.
Shape outside and inside
Work from a stable reference surface, keep the bevel supported and measure the wall as the form develops. A pleasing bowl is not simply a thin bowl. Leave enough structure for the species and the use.
Finish the object
Refine the rim, soften the foot and sand with a clean surface in mind. Select a finish using the food-safe guide when the bowl will meet food, then write down its care.
Prepare and mount with intent
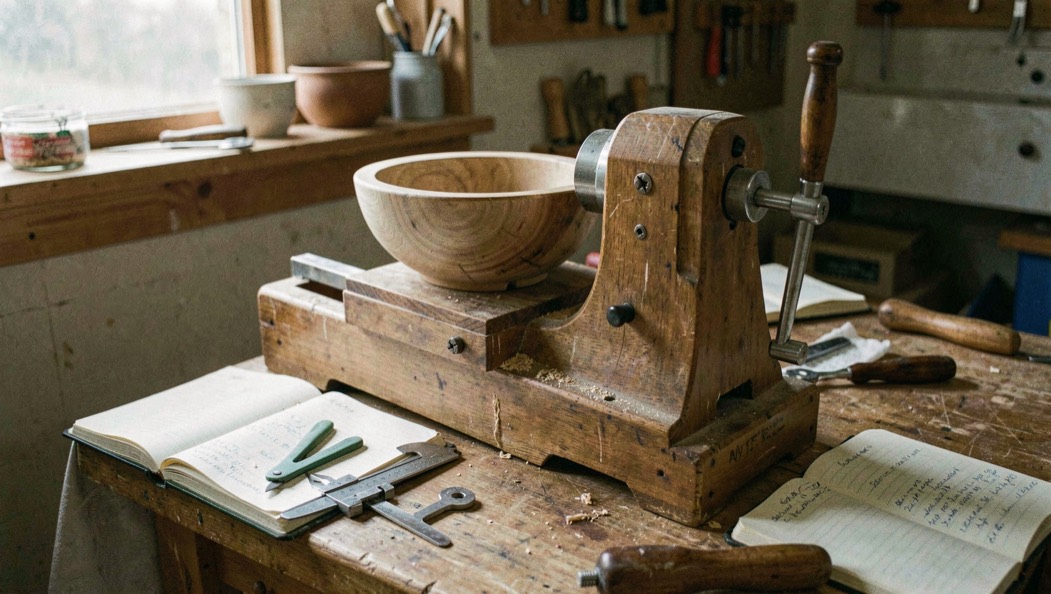
Inspect the blank for checks, pith, bark pockets and grain direction before marking centers. Remove corners with a safe method, confirm the lathe capacity and use a drive center or chucking method suited to the stock. Rotate by hand to verify rest clearance, then begin slowly from a safe position. If the wood is green, decide whether the form will be rough-turned for drying or made as a small finished object with enough wall to tolerate movement. The mounting choice shapes every later cut.
Establish the outside first
Create a stable reference surface before asking the bowl gouge to define the curve. Keep the rest close, present the bevel and remove material in controlled passes from the foot toward the rim or according to the chosen grain direction. Measure wall thickness and diameter as the form develops, but stop the machine before calipers enter the work. A thin rim is not automatically better. Leave structure where the species, diameter or intended use demands it, especially around end grain and interrupted areas.
Refine, sand and finish honestly
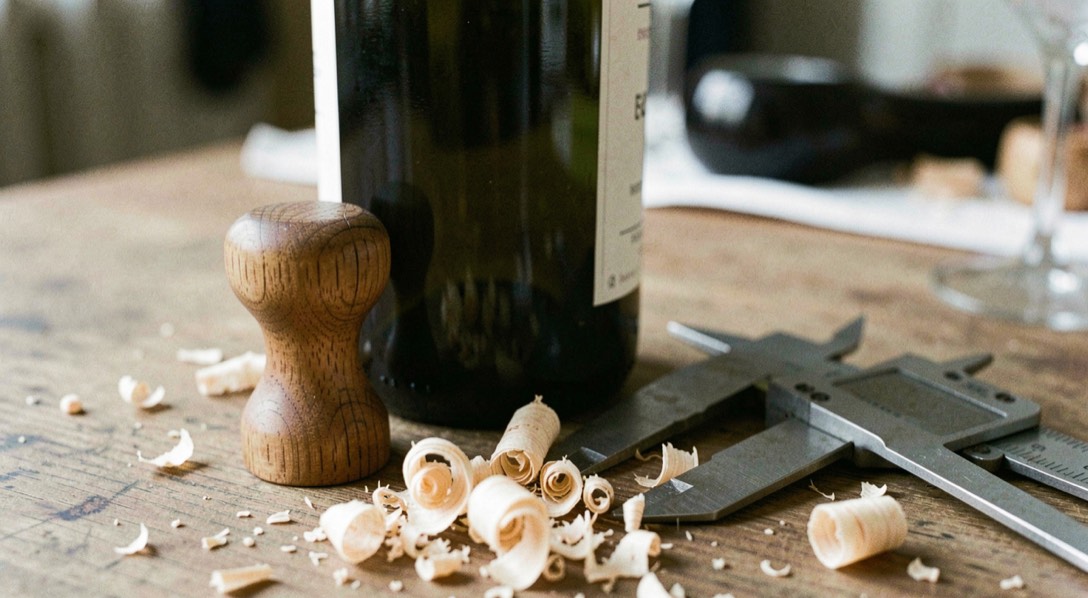
Clean the rim, foot and inside transition with a sharp edge, then use light sanding pressure and dust capture. Raking light reveals torn grain that a bright overhead lamp hides. Test the selected finish on a matching offcut, follow cure instructions and write the care note before the bowl leaves the shop. For example, a dry-use cherry bowl can be designed around hand cleaning, while a green oak bowl may need a drying stage and a revised final dimension.
Make the care note part of the build
Before the final sanding pass, write the object’s intended use and the finish you can support. That decision may change the rim, wall thickness or foot. Check the form at hand height, on its real surface and under the light where it will be used. A bowl that looks perfect on the lathe can feel unstable on a stone counter or too sharp at the rim. The workflow ends with documentation, not just polish: species, finish, date, care and any limit the next owner should know.
Precise safety and material claims are grounded in the editorial methodology; workshop guidance is identified as practical synthesis.